Technical
How to install Common Rail injectors without seizing the valve and voiding the warranty
October 4, 2026 · 3 min read
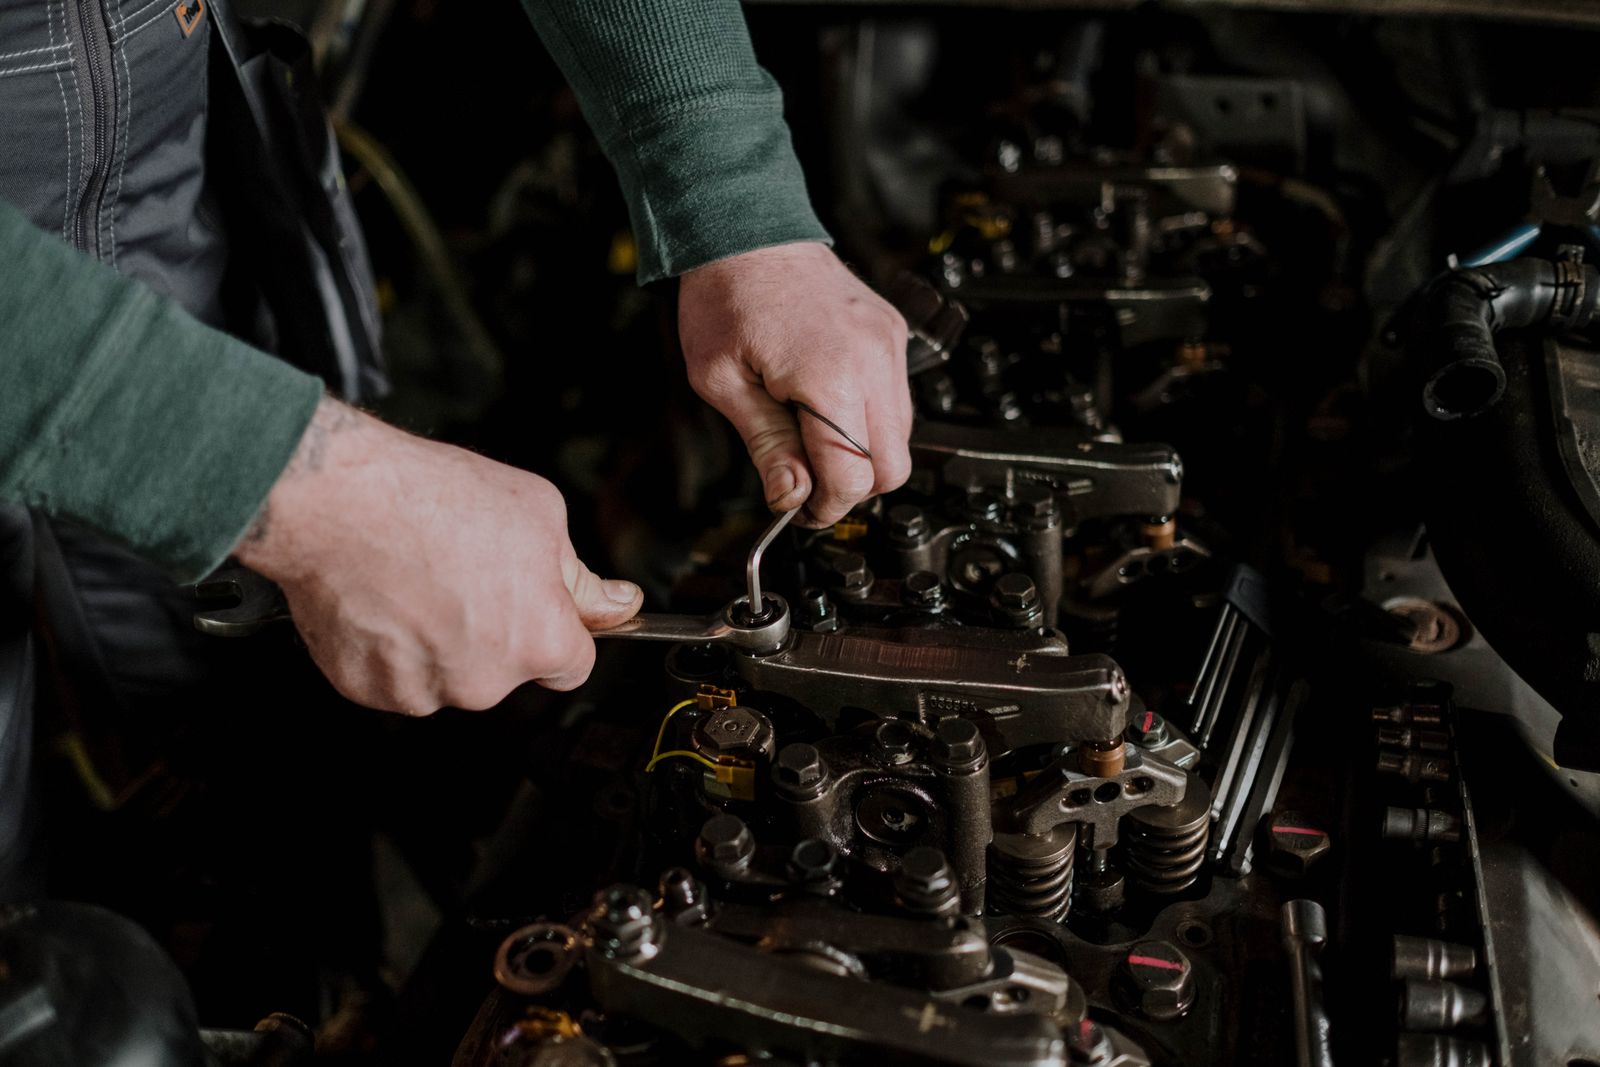
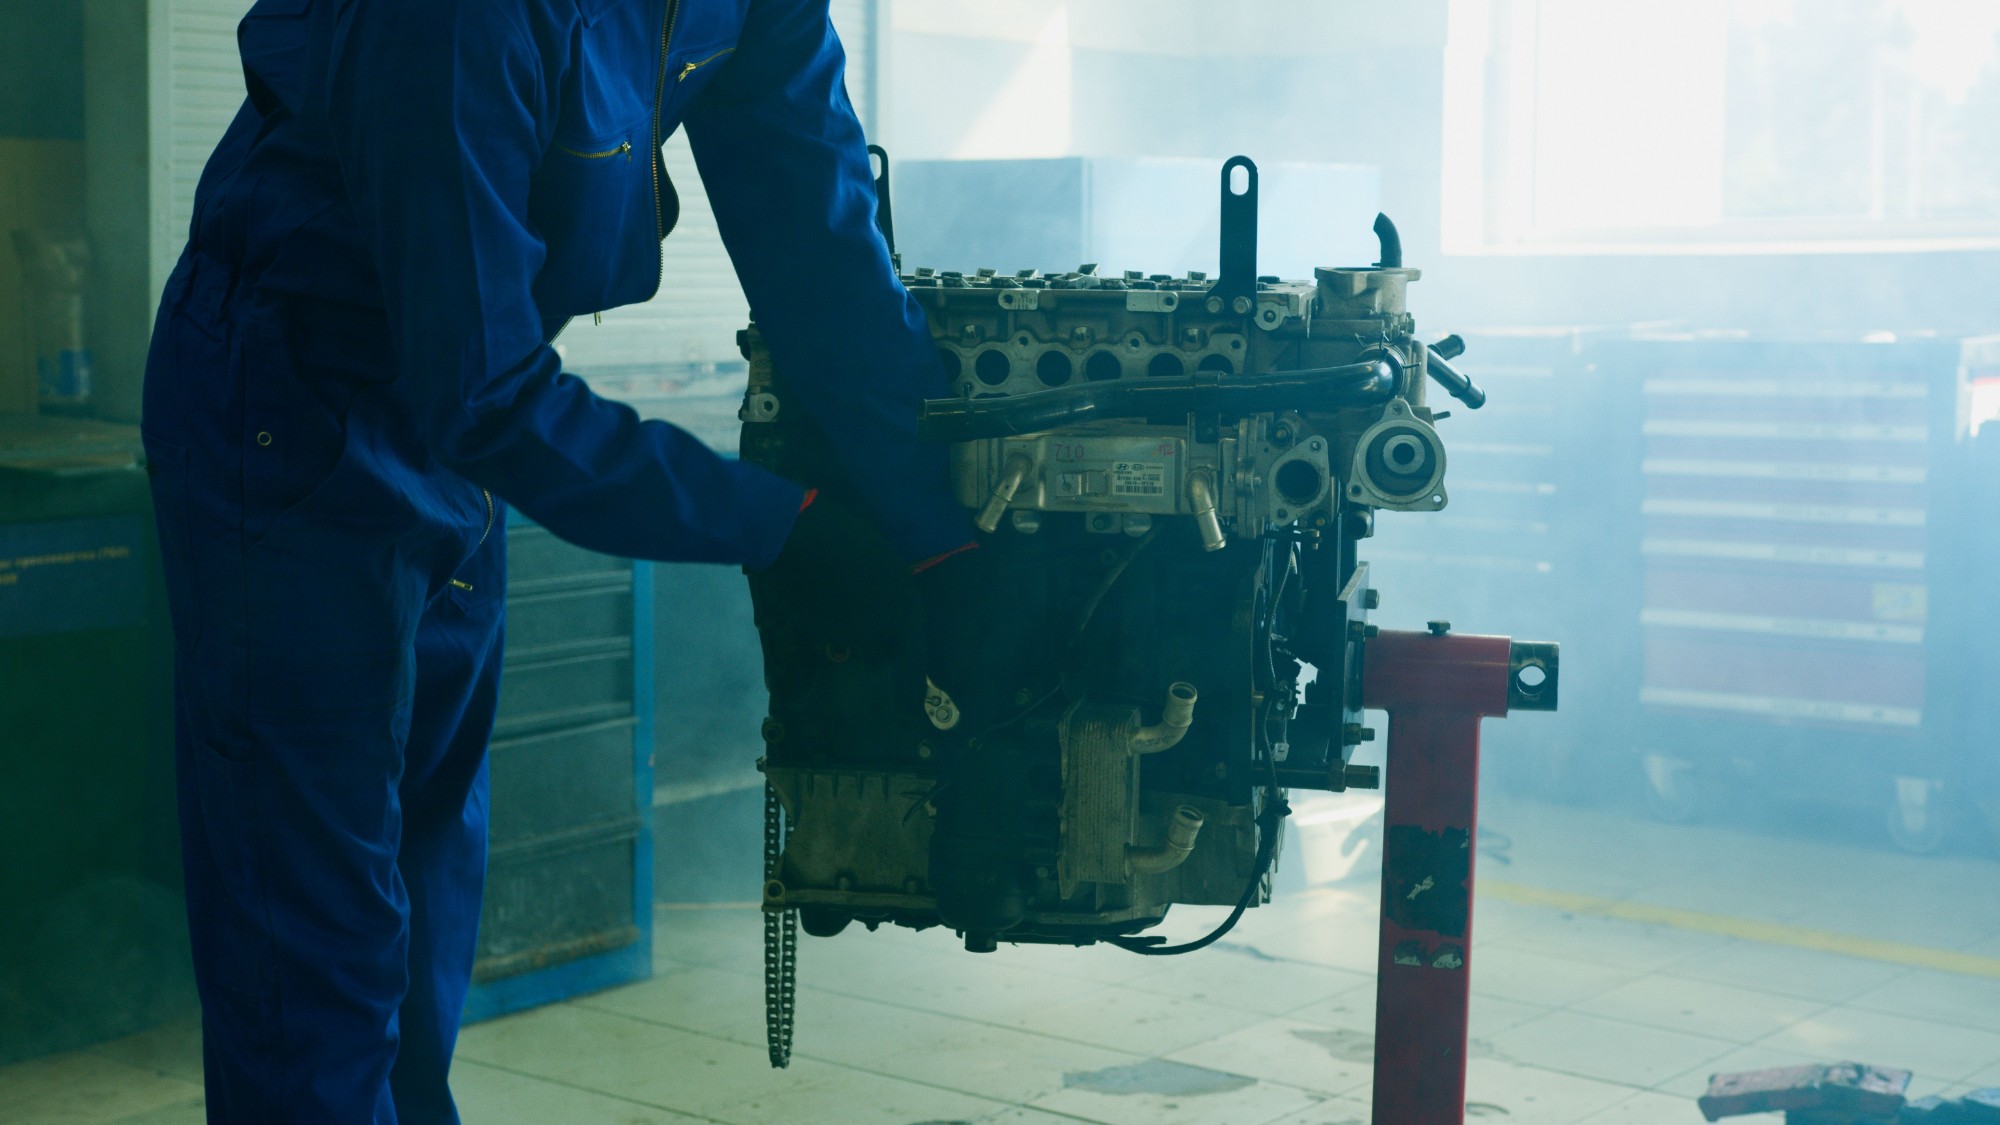
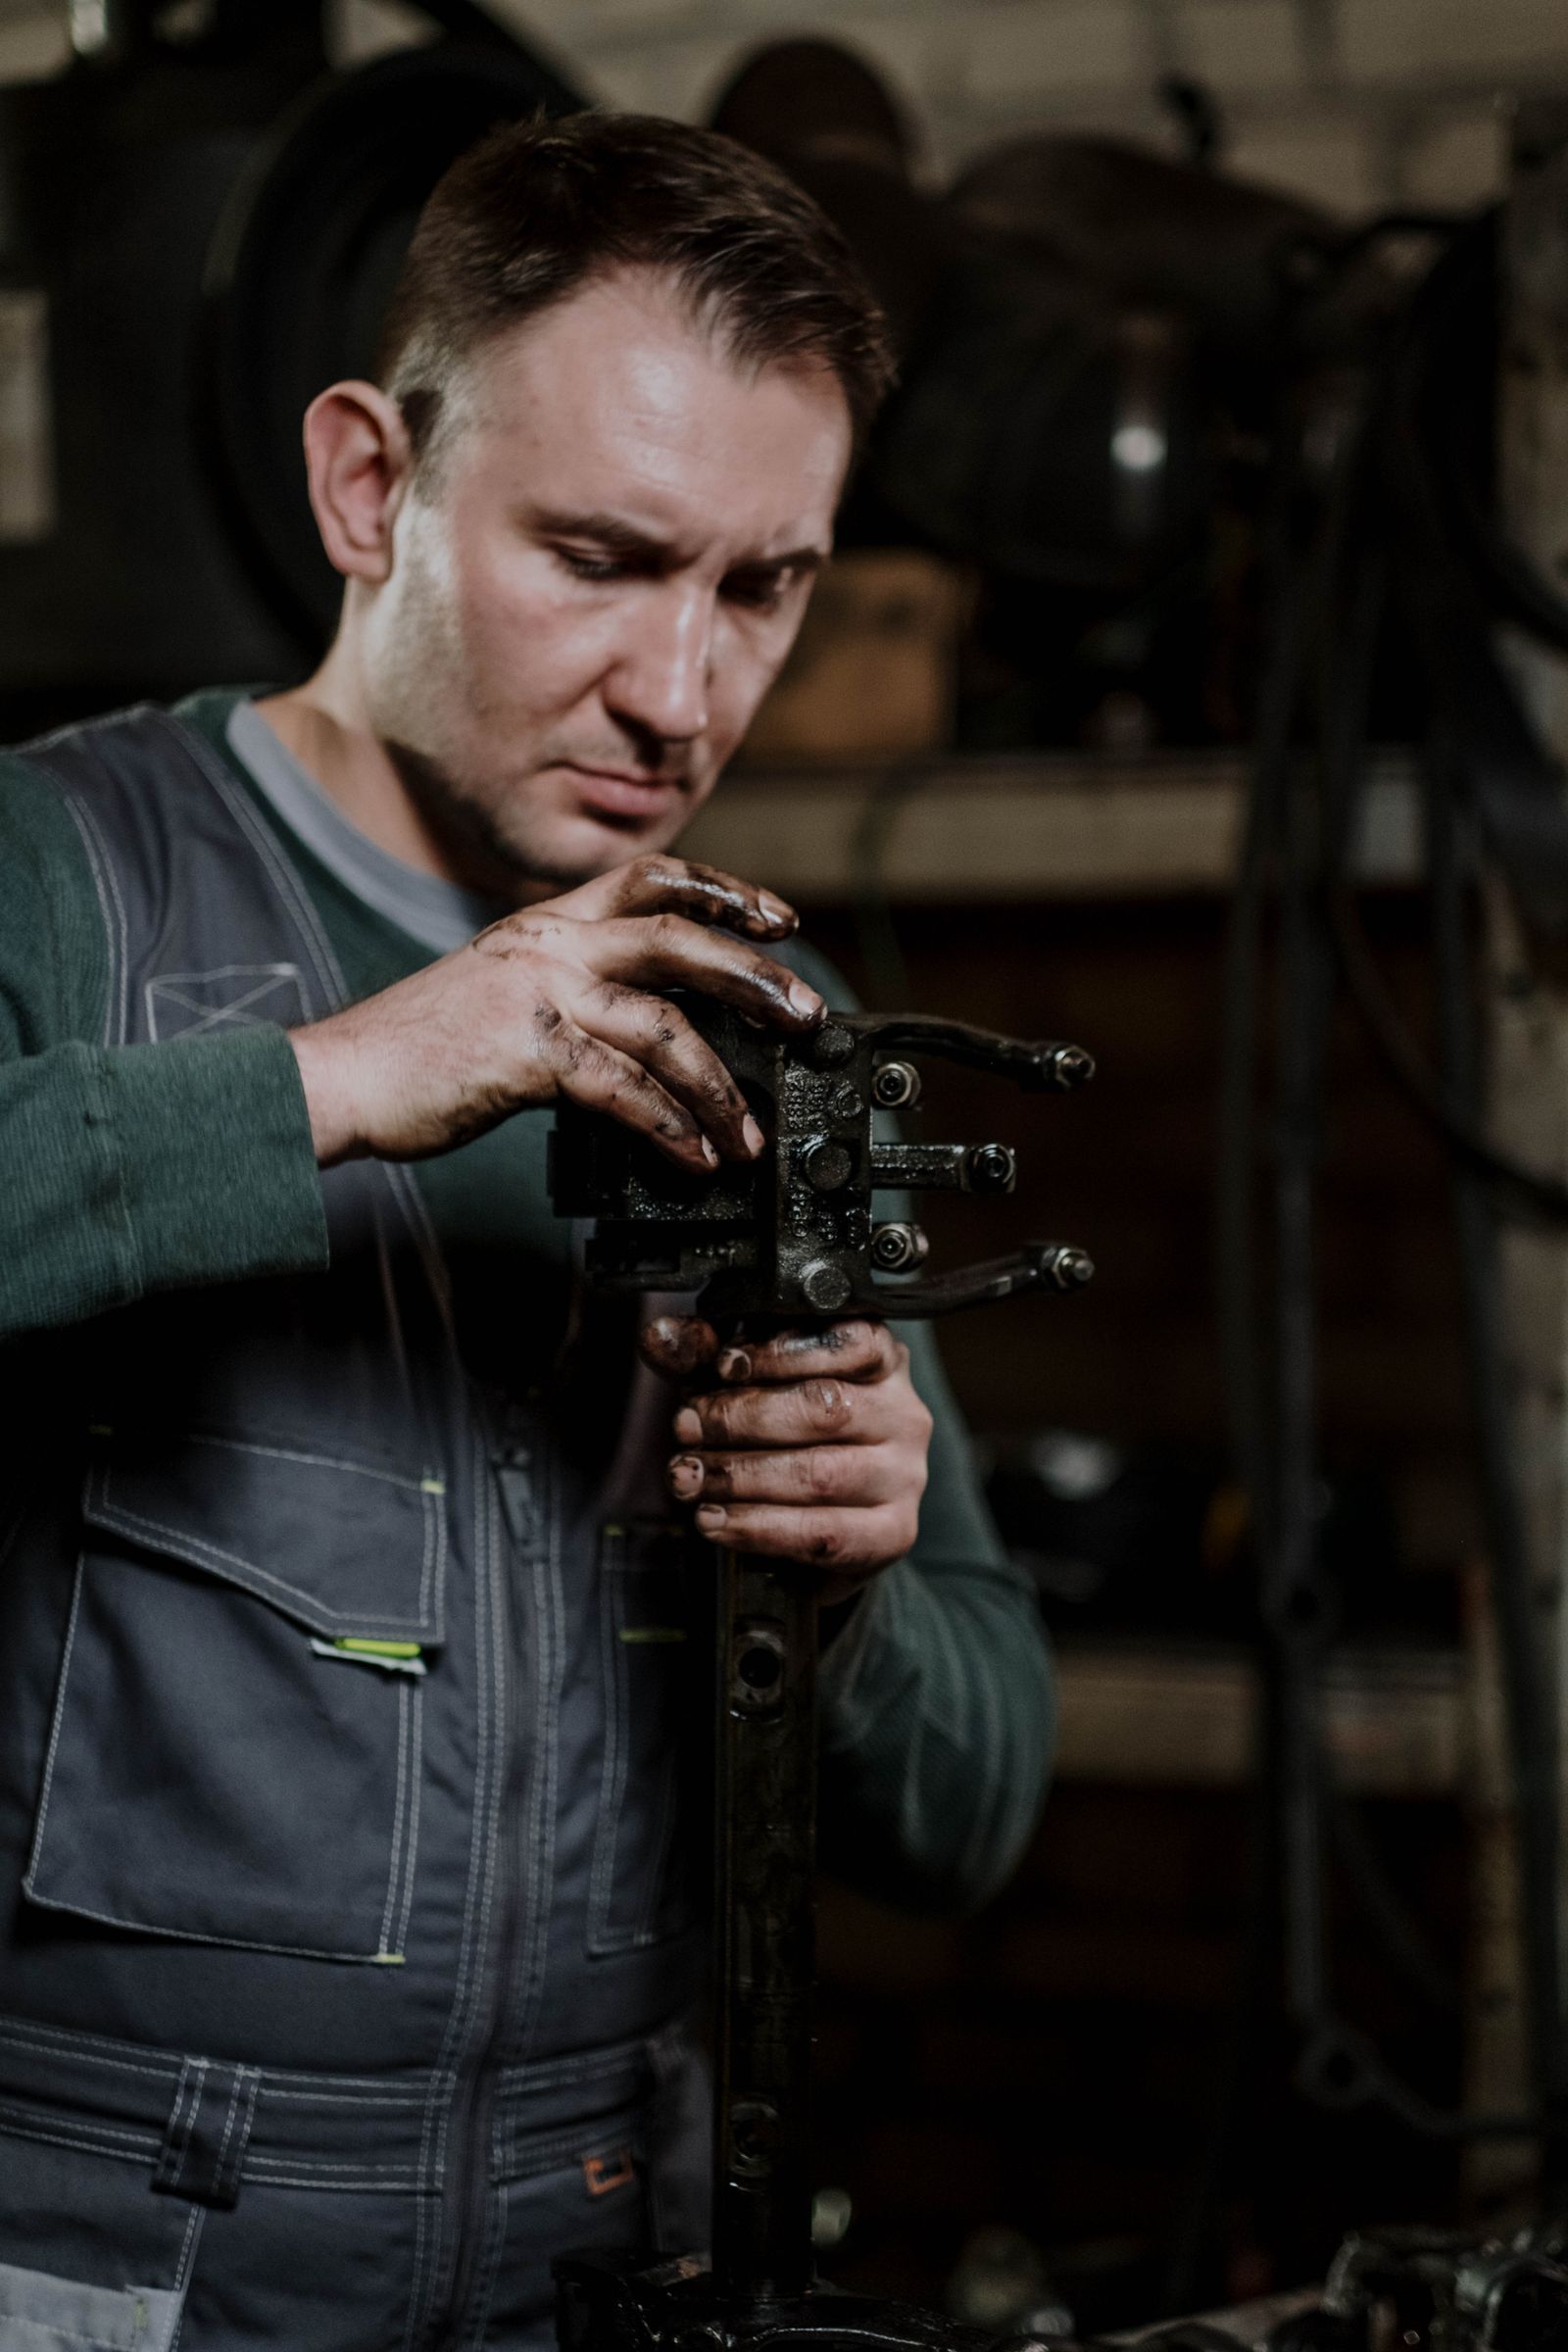
A dirty tank, inadequate filter, and injector seat with residue explain most injectors that seize shortly after replacement. See the step‑by‑step guide for a safe installation.
Introduction
You replaced the injector, the engine ran smoothly, and a few weeks later the customer returns complaining of the same issue. In most cases, the new injector isn’t to blame: the system where it was installed remained contaminated.
Injector manufacturers report that a large portion of warranty claims are denied for this reason — wear caused by abrasive impurities and out‑of‑procedure installation. The result is cost for everyone: the workshop, the customer, and the factory.
What Happens When the System Is Contaminated
Abrasive particles wear the injector valve body and cause it to seize. On the bench, this appears as:
- Excess return flow
- Low dosing
- Irregular spray pattern
In other words, replacing only the injector treats the symptom and leaves the cause in the engine.
Checklist Before Installation
- Tank. Over time, diesel forms a sludge at the bottom. Ideally, remove the tank and wash it with hot water and a pressure jet. Avoid solvents: they can damage the internal corrosion protection and leave residues.
- Filter. Use a filter with the fine filtration specified by the system manufacturer and advise the customer to change it at short intervals.
- High‑pressure pump. Disassemble, clean (ultrasonic) and inspect internal components. Check the dosing valve and the screen. In pumps with a transfer pump, inspect the wear of the blades: they can release metal filings that reach the injector after the filter.
- Rail and pipelines. Clean ultrasonically, with sensors and electronic valves removed.
- EGR. If there is heavy carbon buildup, disassemble and clean.
- Injector seat. Remove residues with a lint‑free cloth or soft brush. Never use a steel brush or metal scrubber.
During Assembly
- Use the correct sealing washer for the application and protect the nozzle tip.
- Apply high‑temperature lubricant only to the injector body, avoiding the tip.
- Observe the manufacturer’s torque and angle specifications. Photograph each injector’s plate before assembly: it makes reading the coding easier.
- Bleeding: mount the rail and pipelines without the final torque, with the electrical connectors still disconnected. Start the engine until diesel flows from the connections, then tighten. Protect the injector’s electrical contact from moisture.
- Coding: with everything connected, code the injectors via the scanner before starting the vehicle. If the ECU does not register the codes, clear the memory with the OEM scanner — generic scanners only clear fault codes.
- Let the idle stabilize and perform a road test. On vehicles with DPF, check saturation and regenerate if necessary.
Tip: always use clean test oil on the bench. Contaminated test oil also scratches and seizes the injector, and can invalidate warranty analysis.
Conclusion
Installing an injector is a process, not a parts swap. Treating the tank, filter, pump, and seat before assembly reduces rework, protects the warranty, and strengthens customer confidence.
In diesel, what you don’t clean comes back to your shop.