Technical
High‑Pressure Pump Replacement: 7 Precautions That Prevent Damage and Rework
October 6, 2026 · 2 min read

Relieve pressure, synchronize the engine, and replace single‑use components: see the safeguards that protect the mechanic and the new pump during replacement.
Introduction
Replacing the high‑pressure pump is one of the most delicate interventions on a Common‑Rail system. A timing error, a reused line, or an out‑of‑spec torque can cost a new pump, a non‑starting engine, or even cause an accident.
Procedures vary by engine, so the vehicle’s service manual is always the reference. However, some precautions apply to virtually every application.
1. Relieve System Pressure
With the engine off, wait a few minutes for rail pressure to drop (manufacturer procedures typically cite about 5 minutes). Open the high‑pressure lines slowly: fuel under high pressure is hazardous.
2. Use Two Wrenches
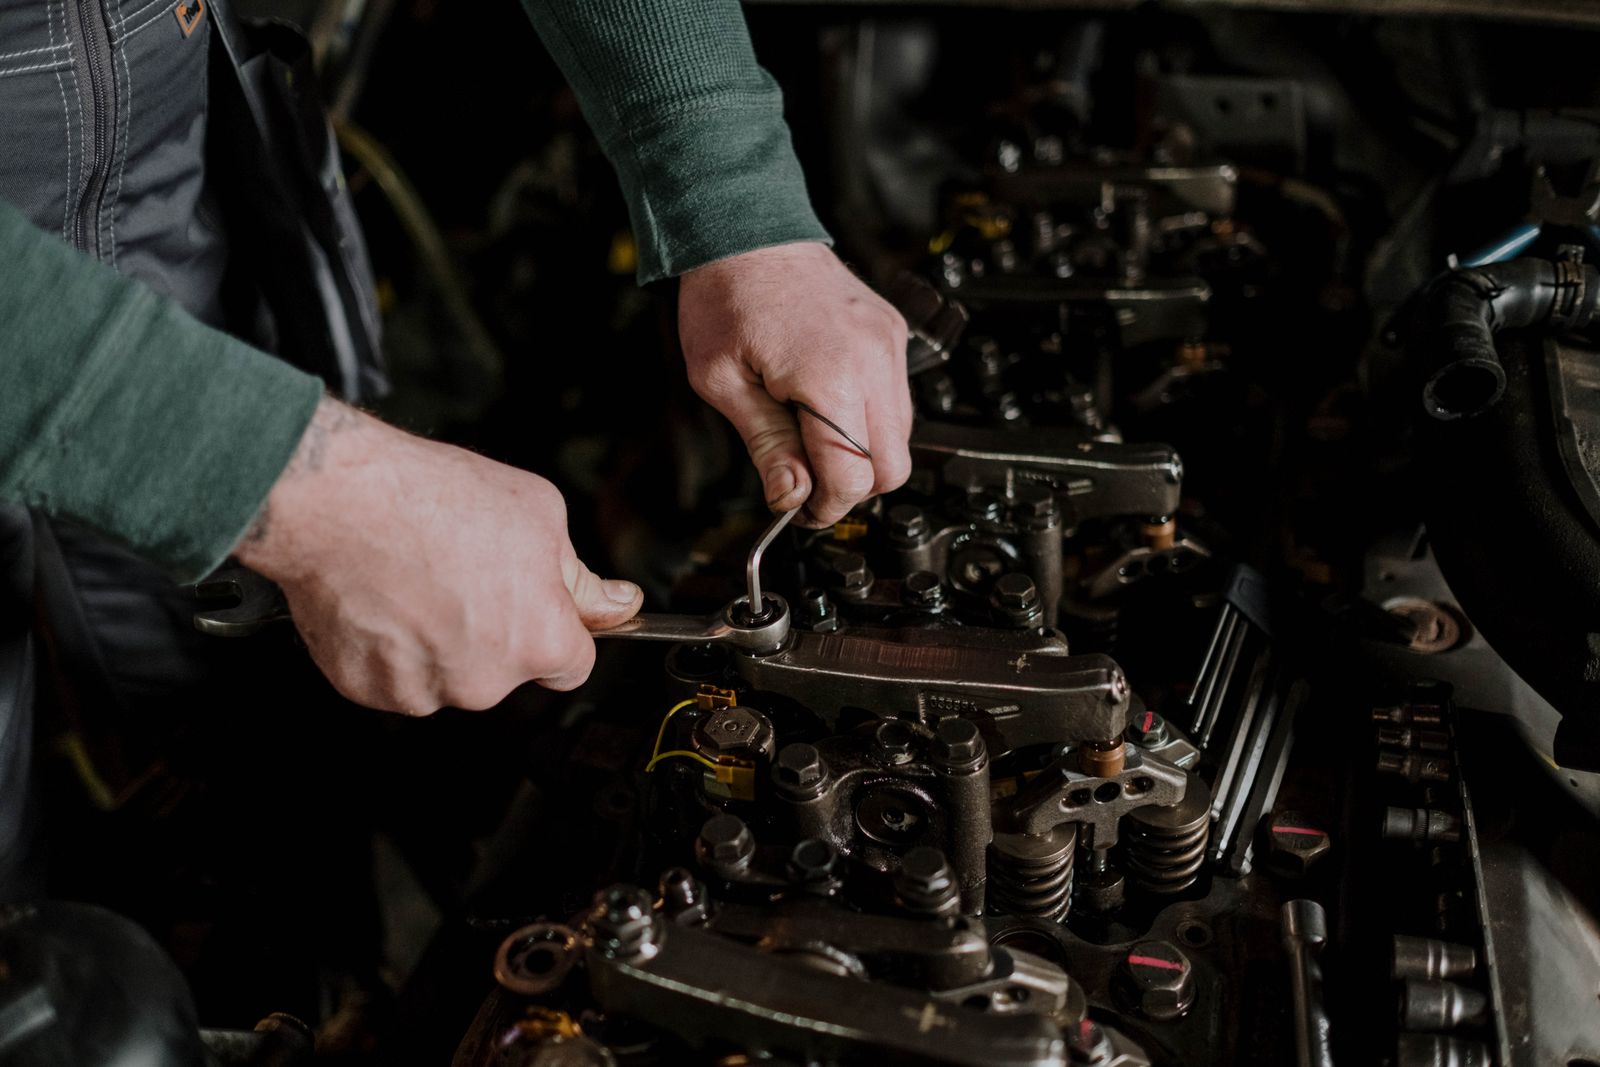
Always work with a second wrench to hold the fitting while loosening or tightening lines. This prevents twisting the tubing and damaging the connection.
3. Synchronize Before Loosening
Position the engine at top dead centre (TDC) of cylinder 1, on the compression stroke, and lock the flywheel with the timing pin. Verify that the timing marks on the pump gear and the cam gear are aligned.
4. Protect the System from Contamination
Cap all lines and openings as soon as they are disconnected. A single grain of dirt entering now can destroy the injector later.
5. High‑Pressure Lines Are Single‑Use
High‑pressure injection lines must be discarded and replaced when removed. Reusing a line compromises sealing and safety.
6. Replace What the Manufacturer Specifies
When swapping a faulty pump, also replace the gear and the mounting nut, and use a new, lubricated sealing ring. Apply thread‑locker or medium‑strength sealant where the procedure calls for it.
7. Observe Torque Values and Tightening Sequence
Follow the torque specifications for each bolt, nut, and connection—pump mounting, gear nut, feed line, high‑pressure line, and return line all have different values. Tighten in the order specified in the manual, then reconnect sensors and valves.
Practical Application
Before replacing the pump, confirm that the issue isn’t low pressure, a clogged filter, or system contamination. A new pump in a dirty system will fail again—and will contaminate the injectors.
Tip: Photograph the timing marks before disassembly and record the applied torques. If something goes wrong, you’ll have a complete history.
Conclusion
Timing, cleanliness, and torque are the three pillars of a successful pump replacement. Following the procedure protects the customer, the pump, and the shop’s reputation.
In diesel, careful assembly determines the part’s service life.